














How to test acoustic guitars: expert guide 2026
Evaluating a vintage acoustic guitar is more complex than playing a few chords and checking the price tag. Misreading structural problems or overlooking subtle refinishing can cost thousands in repairs or lost value. This expert guide delivers systematic testing methods that reveal sound quality, authenticity, and condition so you can confidently assess any vintage instrument before purchase.
Table of Contents
- Prerequisites And Tools Needed
- Physical Inspection Of The Guitar
- Originality And Finish Evaluation
- Sound Quality And Playability Testing
- Documentation And Decision Making
- Common Mistakes And Troubleshooting
- Expected Results And Outcomes
- Explore Expert Vintage Guitar Buying Guides And Tools
- FAQ
Key takeaways
| Point | Details |
|---|---|
| Essential tools | Straightedge, feeler gauge, tuner, flashlight, humidity meter, and magnifying glass ensure accurate measurements. |
| Physical inspection | Check neck alignment, string action, fret wear, and body cracks to identify structural issues. |
| Finish evaluation | Combine visual, tactile, and internal cavity checks to distinguish original finishes from refinishing work. |
| Sound testing | Test multiple playing styles across the fretboard to evaluate tonal balance, sustain, and resonance. |
| Documentation | Thorough notes and photos support confident purchase decisions and future maintenance planning. |
Prerequisites and tools needed
Successful guitar evaluation starts with proper equipment and environment. Without these fundamentals, even experienced players miss critical details that affect value and playability.
Essential testing tools
- Precision straightedge (24 inches minimum) for neck alignment checks
- Feeler gauge set (0.002 to 0.025 inches) for action measurements
- Electronic tuner with cent display for intonation accuracy
- High-intensity LED flashlight for cavity inspection
- Digital hygrometer and thermometer for environmental monitoring
- Jeweler’s loupe or magnifying glass (10x magnification) for finish examination
- Inspection mirror for viewing internal bracing
- Clean microfiber cloths for surface cleaning
Pro Tip: Your smartphone flashlight combined with a small dental mirror works surprisingly well for inspecting through the sound hole when specialized tools aren’t available.
Controlled testing environment
Environmental conditions dramatically affect wood behavior and sound characteristics. Set up your workspace to match these parameters:
| Factor | Optimal Range | Why It Matters |
|---|---|---|
| Humidity | 45-55% RH | Prevents wood swelling or shrinking during evaluation |
| Temperature | 64-72°F | Stabilizes string tension and wood resonance |
| Lighting | 1000+ lumens | Reveals finish irregularities and crack lines |
| Surface | Padded, stable | Protects vintage finishes from accidental damage |
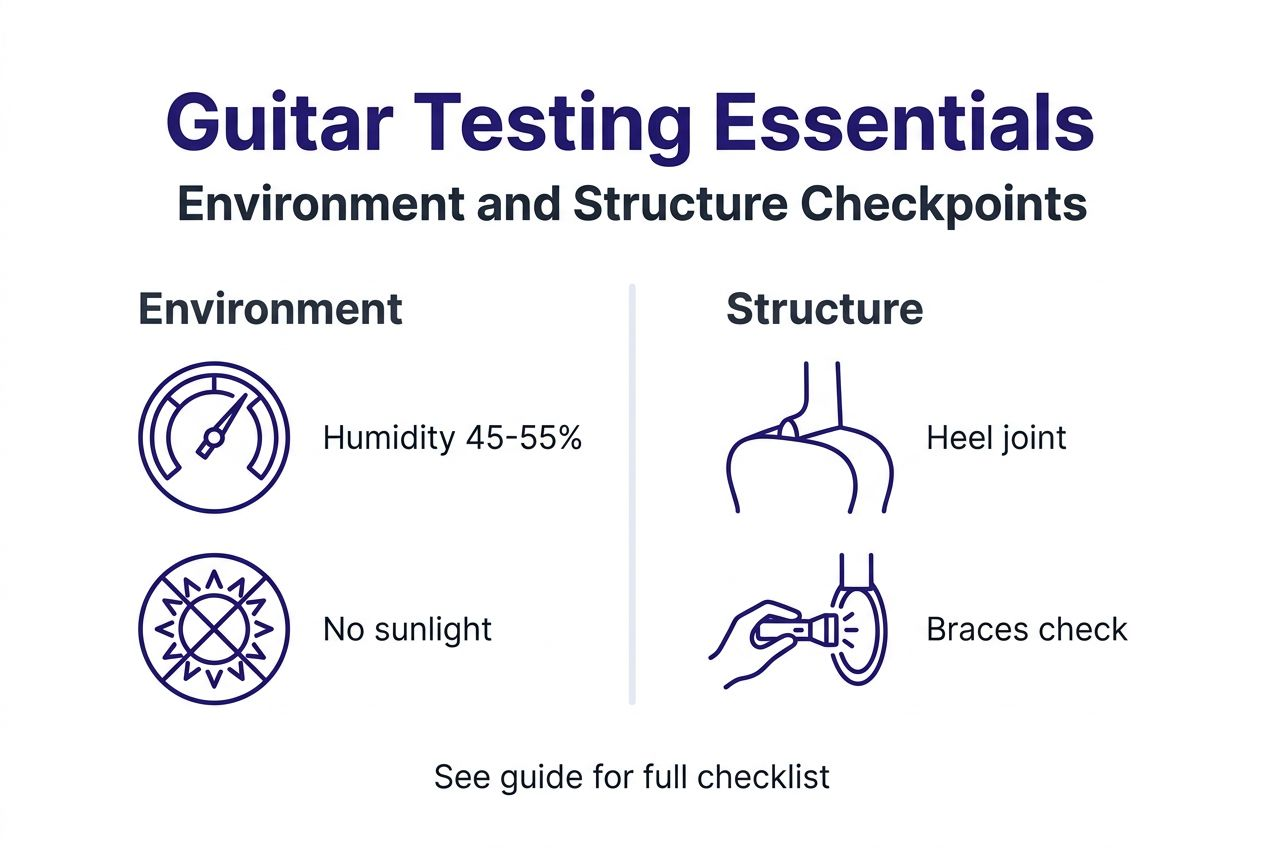
Avoid direct sunlight or UV exposure during testing, as this masks finish flaws and accelerates wood aging. Allow the guitar to acclimate for at least 30 minutes in your testing space before beginning inspection.
Physical inspection of the guitar
Structural integrity determines both playability and restoration costs. These hands-on checks reveal hidden problems that audio tests alone cannot detect.
Neck alignment and action assessment
- Sight down the fretboard from the headstock toward the bridge
- Note where the fretboard plane intersects the bridge
- Inspect the neck angle by checking if the line ends near the bridge top, not its middle or base
- Measure string height at the 12th fret using feeler gauges
- Check for fretboard twist by comparing measurements on both E strings
If the neck angle appears low and the saddle sits unusually close to the bridge, a neck reset likely awaits. This repair typically costs $400 to $800 and signals the instrument has settled over decades.
Critical structural checkpoints
- Fret condition: Look for divots, flat spots, or uneven wear patterns that affect intonation
- Binding integrity: Inspect for separation, cracking, or shrinkage around body edges
- Bridge plate: Check through the sound hole for cracks, warping, or lifting
- Top bracing: Examine for loose ends, cracks, or repairs using an inspection mirror
- Back and side seams: Run fingers along all joints feeling for gaps or separation
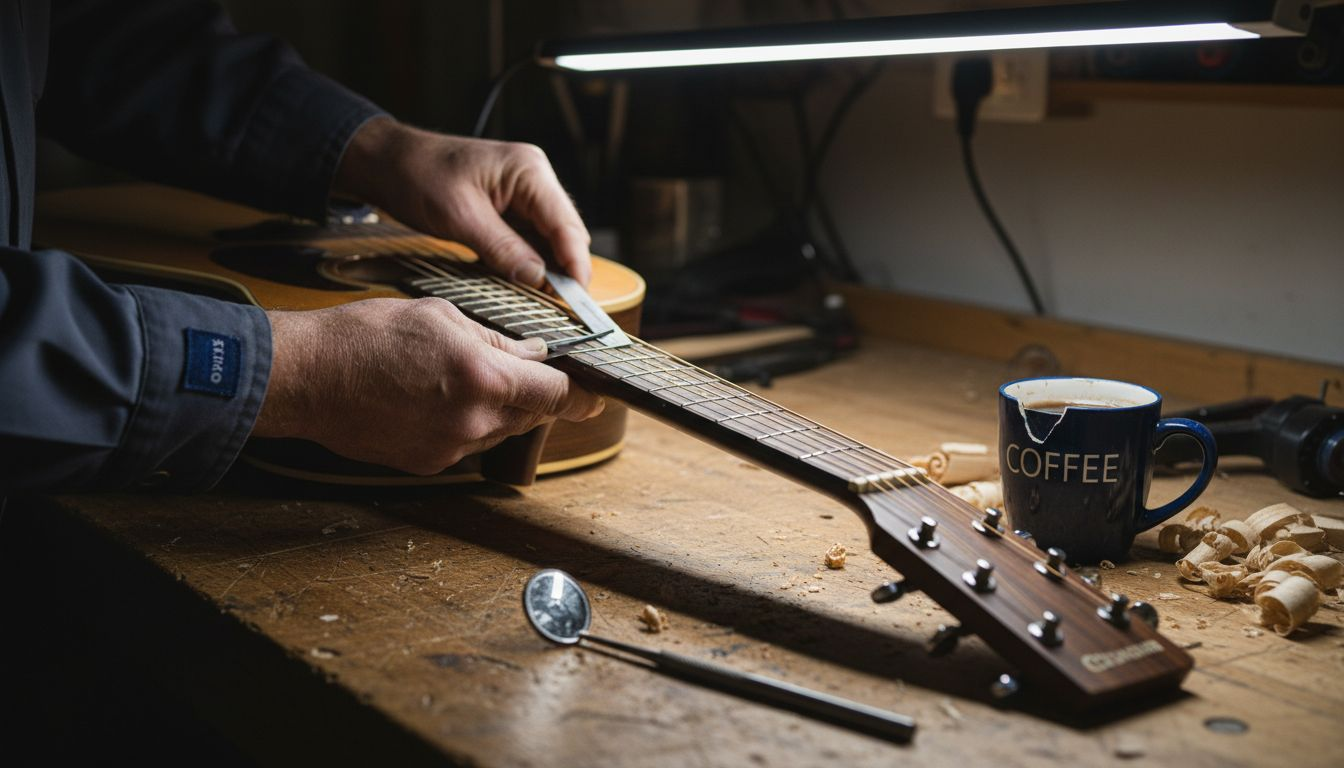
Evaluating used vintage guitars requires patience, as some cracks only become visible under specific lighting angles. Rotate the instrument slowly under your light source.
Warning: Low string action combined with poor neck angle often masks serious structural problems. What seems playable today may require extensive repairs within months as wood movement progresses.
Pay special attention to the heel joint where the neck meets the body. Gaps here indicate separation requiring immediate professional attention before the problem worsens.
Originality and finish evaluation
Authenticity verification separates valuable original instruments from refinished models worth 30% to 50% less. Multiple inspection methods working together reveal the truth.
Visual and tactile finish analysis
Examine the entire surface under bright, angled lighting. Original finishes show consistent aging patterns with natural checking that follows wood grain. Refinished guitars often display irregular crack patterns, suspiciously uniform coloring, or overspray on binding edges.
Run your fingers lightly across the finish surface. Original lacquer develops a distinctive texture over time, slightly uneven but smooth. Modern refinishing often feels glassier or shows thickness variations near repairs.
Internal cavity inspection techniques
- Shine your flashlight through the sound hole at various angles
- Look for glue drips and overspray on internal surfaces that indicate refinishing
- Check label condition and adhesive consistency with surrounding wood
- Examine bracing for modern glue types or repair evidence
- Note any loose braces or structural modifications
Avoid reliance on black light inspection alone, as older refinishes using traditional materials may pass ultraviolet tests. Combine multiple methods for accurate authentication.
Many refinished guitars from the 1980s and 1990s used nitrocellulose lacquer that fluoresces similarly to original finishes. Trust your combined visual, tactile, and internal findings over any single test.
Our guitar authenticity checking guide provides detailed photos comparing original versus refinished characteristics across popular vintage models.
Sound quality and playability testing
Tonal evaluation reveals craftsmanship quality and structural health that visual inspection cannot detect. Systematic testing across playing styles exposes both strengths and weaknesses.
Comprehensive playing technique assessment
- Strum open chords with varying attack intensity to test dynamic response
- Fingerpick melodic passages across all strings and positions
- Play harmonic notes at the 5th, 7th, and 12th frets checking sustain and clarity
- Execute barre chords up the neck listening for dead spots or imbalanced volume
- Test bass response with low E string runs versus treble clarity on high notes
Listen specifically for balanced frequency response where bass, midrange, and treble complement rather than compete. Premium vintage acoustics deliver even volume and sustain across the entire fretboard.
Pro Tip: Test guitars after they’ve stabilized in your controlled humidity environment for at least an hour. Wood moisture content directly affects resonance and tonal characteristics, so consistency matters for fair comparisons.
Identifying tonal red flags
Buzzing, rattling, or muted notes signal structural problems even when visual inspection appears clean. Loose braces create phantom overtones. Top cracks produce subtle buzzing on specific frequencies. Wolf notes (dead spots) indicate bracing issues or soundboard problems.
Evaluating guitar sound quality requires comparing the instrument against known reference examples. Record short audio clips for later comparison when assessing multiple guitars.
Responsiveness matters as much as tone. How quickly does the top vibrate when you play softly? Does volume increase proportionally with harder attacks? The best vintage acoustics respond instantly to subtle playing dynamics, rewarding skilled technique.
Documentation and decision making
Systematic record keeping transforms subjective impressions into objective data supporting confident purchase decisions.
Structured note taking system
Create a standard inspection form covering these categories:
- Neck geometry: angle assessment, relief measurement, fret condition rating
- Structural integrity: crack locations, repair evidence, joint condition
- Finish authenticity: originality determination, wear pattern consistency, internal findings
- Sound characteristics: tonal balance, sustain quality, dynamic response, problem frequencies
- Playability factors: action measurements, intonation accuracy, comfort assessment
Photographic documentation standards
- Capture overall front, back, and side views in consistent lighting
- Detail shots of any cracks, repairs, or finish irregularities
- Close-ups of fret wear, bridge condition, and binding
- Internal photos through the sound hole showing bracing and labels
- Comparison shots if evaluating multiple instruments
Thorough documentation increases transparency and enables objective comparison when choosing between similar guitars. Your notes become invaluable during price negotiations or future resale.
Comparison scoring framework
| Criteria | Guitar A Score | Guitar B Score | Guitar C Score |
|---|---|---|---|
| Structural condition (1-10) | 8 | 6 | 9 |
| Finish originality (1-10) | 9 | 4 | 8 |
| Tonal quality (1-10) | 7 | 9 | 8 |
| Playability (1-10) | 8 | 7 | 9 |
| Value vs. asking price (1-10) | 7 | 8 | 6 |
| Total score | 39 | 34 | 40 |
Quantifying your findings helps eliminate emotional decision making. Use our vintage guitar buying checklist alongside your custom documentation for comprehensive evaluation.
Common mistakes and troubleshooting
Even experienced collectors make evaluation errors that cost money or miss opportunities. Recognizing these pitfalls protects your investment.
Frequent inspection failures
- Dismissing subtle neck angle problems that escalate into major repairs
- Trusting black light results without corroborating visual and tactile evidence
- Skipping internal sound hole inspection for hidden overspray or loose bracing
- Rushing through sound testing without exploring multiple playing positions
- Failing to document findings, relying on memory during later decisions
Pro Tip: Bring a trusted player friend for second opinions on sound and playability. Fresh ears catch details you might miss after testing multiple guitars in one session.
Common failure points include overlooking neck angle issues, ignoring subtle finish overspray, and missing internal bracing damage. Each leads to expensive surprises or undervalued instruments slipping through your fingers.
Troubleshooting ambiguous findings
When visual inspection conflicts with sound quality, prioritize structural health over tonal characteristics. Great tone from a guitar needing neck reset becomes irrelevant after repair costs. However, structurally sound instruments with mediocre tone often improve dramatically with proper setup or string changes.
Uncertain about finish originality? Request professional authentication before committing to high-value purchases. The $100 to $200 expert evaluation fee protects against $5,000+ mistakes on rare instruments.
Our guide on used guitar evaluation errors explores real-world case studies where collectors learned expensive lessons from incomplete testing.
Expected results and outcomes
Applying these expert methods systematically produces clear, actionable intelligence about any vintage acoustic guitar.
Measurable evaluation benchmarks
Successful testing identifies specific issues with confidence. You should determine whether neck reset is necessary within 5% margin, distinguish original from refinished finishes with 90%+ accuracy, and rate tonal quality consistently against reference standards.
Outcome comparison framework
| Finding | Positive Indicator | Red Flag Indicator |
|---|---|---|
| Neck angle | Line intersects bridge top; action under 0.110 inches | Line hits bridge middle/base; action exceeds 0.140 inches |
| Finish authenticity | Consistent aging, natural checking, clean internal cavity | Irregular patterns, thick spots, internal overspray |
| Tonal response | Balanced across range, 4+ second sustain, responsive dynamics | Dead spots, buzzing, muted frequencies, slow response |
| Structural condition | Tight joints, original bracing, minimal wear | Cracks, loose braces, separation, heavy repairs |
| Documentation quality | Complete notes, multiple photos, scoring matrix | Incomplete records, memory-based, no comparisons |
Your inspection results directly inform three critical decisions: purchase price negotiations based on repair needs, confidence level for immediate purchase versus further research, and long-term maintenance planning for instruments you acquire.
Reference our vintage guitar quality benchmarks to calibrate your assessment standards against market expectations. Understanding typical vintage guitar testing outcomes helps you recognize both exceptional finds and overpriced projects.
Mastering these evaluation techniques transforms guitar shopping from risky guesswork into informed investment strategy backed by systematic evidence.
Explore expert vintage guitar buying guides and tools
Ready to apply your new testing knowledge? Our comprehensive resources support every stage of vintage guitar acquisition and evaluation.
Our 7-point checklist for buying vintage guitars complements this testing guide with pre-purchase decision frameworks. The vintage guitars expert buying guide expands on market trends and value assessment strategies.

Browse our curated selection of vintage guitar tools and accessories including precision measurement instruments, humidity control solutions, and specialized inspection equipment. Every tool we offer meets the professional standards used in our own evaluation work.
FAQ
What tools are absolutely necessary for testing acoustic guitars?
A straightedge, feeler gauge, electronic tuner, strong LED flashlight, humidity meter, and magnifying glass form the essential toolkit. These enable accurate physical measurements and environmental consistency checks. Without them, you risk missing critical structural problems or misreading finish authenticity.
How can I tell if a guitar finish is original or refinished?
Combine visual inspection of texture and natural checking patterns with tactile assessment of finish thickness variations. Examine internal cavities through the sound hole for overspray or glue drips that indicate refinishing work. Never rely solely on black light tests, as older refinishes using traditional materials often pass ultraviolet inspection.
What are the signs a vintage guitar needs a neck reset?
Sight down the fretboard and note where it intersects the bridge. If the line hits the bridge middle or lower section rather than the top, neck reset is likely needed. Combined with elevated string action and a saddle sitting unusually low, these signs confirm the neck angle has dropped over time from string tension.
Why is documenting test findings important for vintage guitars?
Systematic documentation creates objective records enabling fair comparison between multiple instruments. Written notes and photos eliminate memory errors during decision making and provide evidence for price negotiations. Your records also establish baseline condition for tracking changes over time as you maintain or restore instruments.
How long should sound quality testing take for each guitar?
Allow minimum 15 to 20 minutes per instrument testing multiple playing styles across the entire fretboard. Rushed evaluations miss subtle tonal problems or dead spots that only appear in specific positions. Quality assessment requires patient listening in a quiet environment after the guitar has acclimated to stable temperature and humidity.